


Table of Contents
Install macOS Monterey
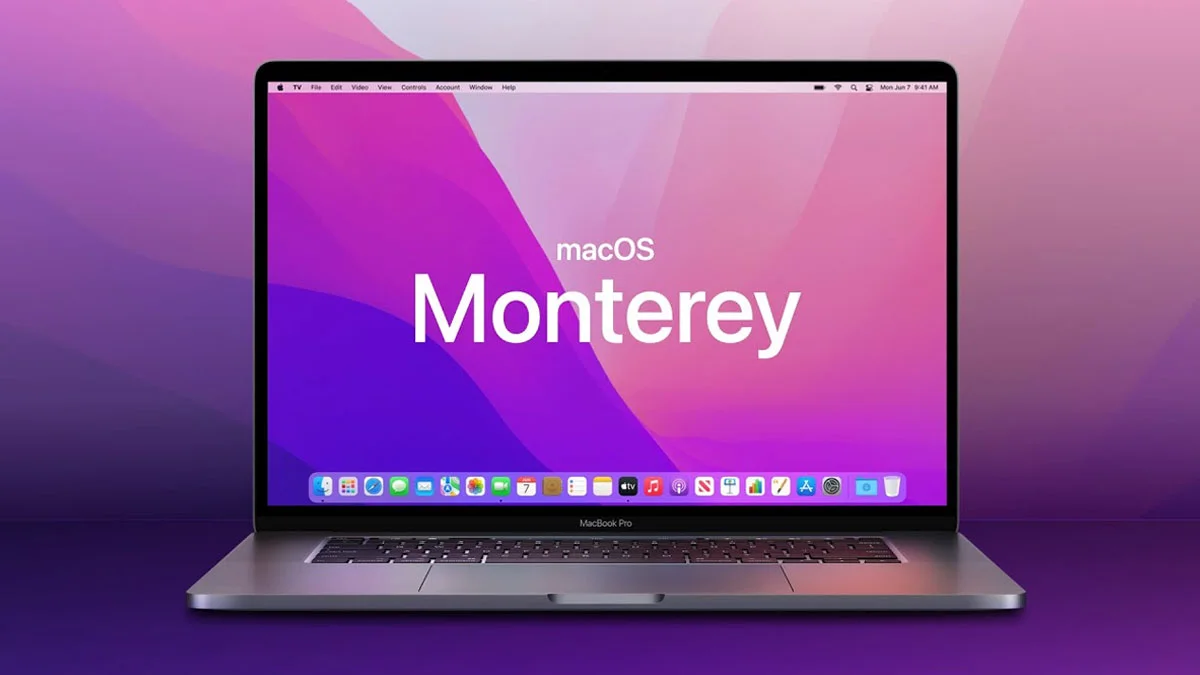
macOS Monterey is the latest version of Apple’s operating system for Mac computers. Packed with exciting new features and improvements, upgrading to macOS Monterey can enhance your overall user experience. This step-by-step guide will walk you through the process of upgrading and installing macOS Monterey on your Mac device.
Checking System Requirements
Before proceeding with the upgrade, it is essential to ensure that your Mac meets the necessary system requirements for macOS Monterey. To check compatibility, go to the Apple menu, select “About This Mac,” and click on “System Report.” Verify if your Mac model is compatible with Monterey by reviewing the information under “Hardware Overview” and checking the “Model Identifier” against the list of supported devices on the Apple website.
Preparing for macOS Monterey Upgrade
To smoothly transition to macOS Monterey, it is essential to take a few preparatory steps. First, ensure that all your important data is backed up to prevent any potential loss during the upgrade process. Additionally, make sure you have a stable internet connection and adequate storage space on your Mac for the installation.
Back Up Your Data
Before embarking on the upgrade journey, it is crucial to create a backup of your data. Backing up files, documents, and media ensures that even in the unlikely event of data loss during the installation, you can easily restore your important information. You can utilize built-in Mac backup options like Time Machine or choose third-party backup solutions for added reliability.
Downloading macOS Monterey
Once you have completed the necessary preparation, you can proceed with the download of macOS Monterey. To acquire the installation file, visit the Mac App Store and search for “macOS Monterey.” Click on the download button, and the installation package will begin downloading. This process may take some time, depending on your internet speed.
Creating a Bootable Installer
To upgrade multiple Mac devices or perform a clean installation, it is recommended to create a bootable installer for macOS Monterey. A bootable installer allows you to install the operating system on any compatible Mac without the need for repeated downloads. Apple provides easy-to-follow instructions on creating a bootable installer on their official support website.
Upgrade Method: Installing over Previous macOS Versions
One way to upgrade to macOS Monterey is by installing it over your existing macOS version. This method preserves your applications, settings, and files while upgrading the underlying operating system. To perform this upgrade, open the downloaded macOS Monterey installation file, follow the on-screen instructions, and let the installer guide you through the process. The upgrade can take some time, and your Mac may restart multiple times during the installation.
Upgrade Method: Clean Installation of macOS Monterey
If you prefer to start fresh with a clean installation of macOS Monterey, this method erases all the data on your Mac’s startup drive. Before proceeding, ensure that you have backed up all your important data. To initiate a clean installation, create a bootable installer using the previously described method. Restart your Mac and hold down the Option key while it boots up. Select the bootable installer from the startup options and follow the on-screen instructions to install macOS Monterey on your Mac.
Upgrading to macOS Monterey
The upgrade process to macOS Monterey is designed to be user-friendly and intuitive. Simply follow the prompts presented by the installer after you have chosen the upgrade method. The installer will guide you through the necessary steps, such as accepting licensing terms and selecting the destination for the installation. Once the installation finishes, your Mac will restart, and you can enjoy the new features and improvements brought by macOS Monterey.
Post-Installation Steps
After upgrading to macOS Monterey, there are a few post-installation steps to consider. First, ensure that all your applications and software are up to date. Developers often release updates to ensure compatibility with the latest operating systems. Additionally, familiarize yourself with the new features and functionalities of Monterey. Explore the revamped interface, test out new applications, and customize settings to optimize your Mac experience.
Conclusion
Upgrading to macOS Monterey can enhance your Mac experience with its exciting features and improvements. By carefully following the step-by-step guide provided, you can successfully upgrade and install macOS Monterey on your compatible Mac device. Remember to back up your data, check system requirements, and choose the upgrade method that best suits your needs. Enjoy exploring the latest macOS version and all it has to offer!


