

Table of Contents
Introduction: Minecraft Shaders
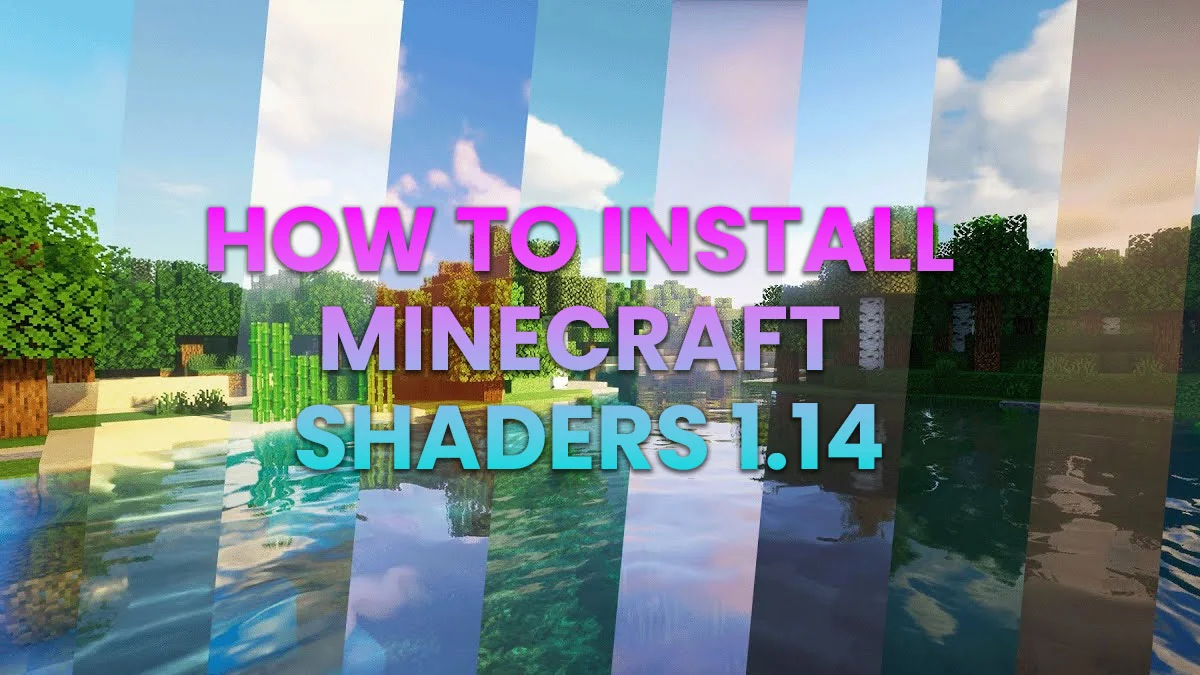
Minecraft is known for its charming blocky world, but you can take your gaming experience to the next level by installing shaders. Shaders can enhance the game’s graphics, adding realistic lighting, shadows, and visual effects, making your Minecraft world more immersive and visually stunning. In this step-by-step tutorial, we’ll guide you through the process of installing Minecraft shaders for version 1.14. Let’s get started on your journey to a more beautiful Minecraft world.
What Are Minecraft Shaders?
Minecraft shaders are modifications that elevate the game’s graphics to a whole new level. They introduce effects like realistic lighting, shadows, reflections, and more, transforming the game into a visually captivating experience.
Step 1: Ensure You Have Minecraft 1.14
Before you can install shaders for Minecraft 1.14, make sure you have the appropriate version of the game. Shaders are version-specific, so ensure you’re running Minecraft 1.14 or a compatible version.
Step 2: Download and Install OptiFine
OptiFine is a must-have mod that not only optimizes Minecraft’s graphics but also provides support for shaders. Here’s how to install OptiFine:
- Visit the OptiFine website (https://optifine.net/downloads).
- Download the version of OptiFine that corresponds to your Minecraft version. In this case, look for OptiFine 1.14.
- Run the downloaded OptiFine JAR file. It will open an installer.
- Select “Install” to integrate OptiFine with your Minecraft launcher.
Step 3: Launch Minecraft with OptiFine
Now that you’ve installed OptiFine, it’s time to launch Minecraft with this new profile. Here’s how:
- Open the Minecraft Launcher.
- In the bottom left corner, you’ll see a dropdown menu with different profiles. Select “OptiFine” or the profile you just created during the installation.
- Click “Play” to run Minecraft with OptiFine.
Step 4: Download a Shader Pack
Shader packs come in various styles, each offering a unique visual experience. You can download shader packs from different sources on the internet. Ensure that the shader pack is compatible with Minecraft 1.14. You can find shader packs on websites, forums, or shader-specific communities.
Step 5: Install the Shader Pack
Once you’ve downloaded a shader pack, follow these steps to install it:
- Open Minecraft.
- In the main menu, go to “Options” and then “Video Settings.”
- In the “Video Settings” menu, select “Shaders.”
- Click on “Shaders Folder” to open the shaderpacks folder.
- Drag and drop the downloaded shader pack into the shaderpacks folder.
Step 6: Activate the Shader
With the shader pack in place, you can now activate it:
- In the “Shaders” menu, you’ll see a list of shader packs you’ve installed.
- Click on the shader pack you want to use. Minecraft will apply the shader in real-time.
Step 7: Explore Your Enhanced Minecraft World
Congratulations! You’ve successfully installed and activated shaders for Minecraft 1.14. Now, enter your Minecraft world and experience the game’s enhanced graphics. You’ll notice realistic lighting, shadows, and various visual effects that will make your gaming experience more immersive and visually stunning.
Enjoy your beautifully enhanced Minecraft world, and have fun exploring the blocky landscapes with your new shaders!


