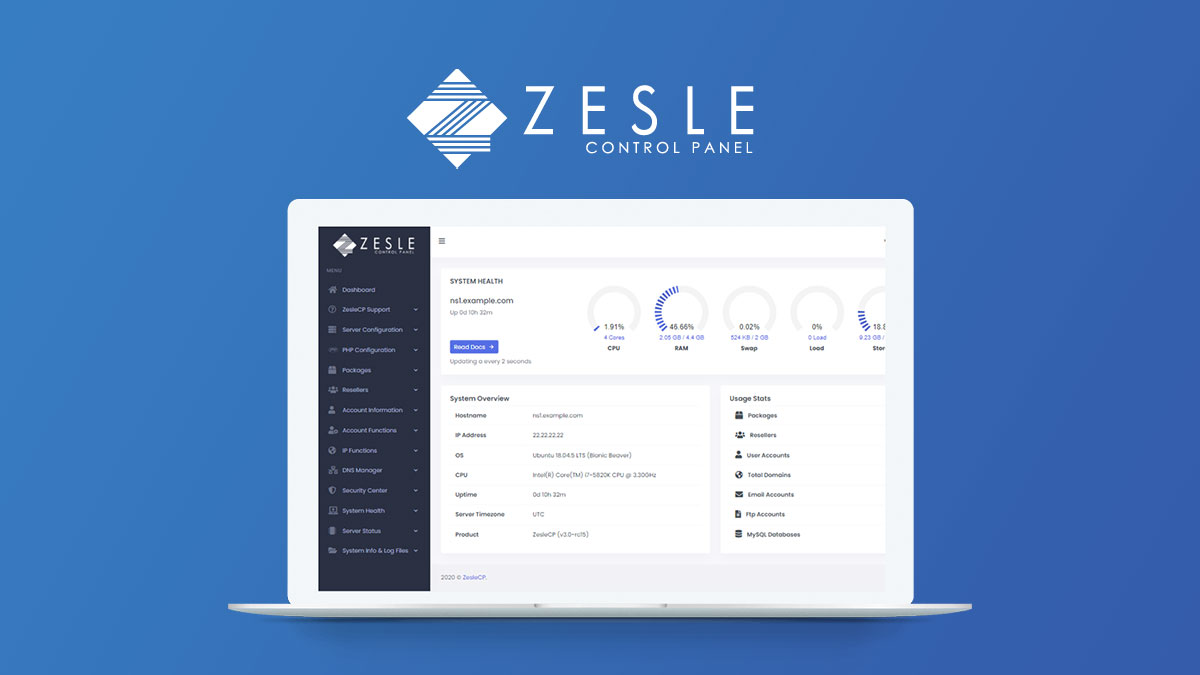
Install ZesleCP Free Linux
ZesleCP is a user-friendly and free Linux hosting control panel that simplifies the management of web hosting and server resources. It provides a graphical interface to help users set up websites, domains, email accounts, and more. Follow this guide to install ZesleCP on your Linux server.
Table of Contents
Prerequisites
Before installing ZesleCP, make sure you have:
- A VPS or dedicated server running a clean installation of a compatible Linux distribution (recommended: CentOS 7/8, Ubuntu 20.04).
- SSH access to your server.
- A registered domain name (optional, but recommended).
Download and Install ZesleCP
To install ZesleCP, follow these steps:
- Connect to your server using SSH.
- Update your server’s packages:
sudo yum update  # for CentOS
sudo apt update  # for Ubuntu
Run the following command to download and install ZesleCP:
cd /home && sudo curl -o latest -L http://release.zeslecp.com/latest && sudo bash latest- Follow the on-screen prompts to configure ZesleCP during the installation process.
- Once the installation is complete, access the control panel using your server’s IP address in a web browser.
Initial Configuration
After installing ZesleCP, you’ll be prompted to create an admin user and set the initial configuration. Follow the on-screen instructions to set your preferences.
Create a Website
To create a website in ZesleCP:
- Log in to the ZesleCP dashboard.
- Click on “Websites” and then “Create Website.”
- Follow the prompts to specify your domain, website path, and other settings.
- Click “Create Website” to complete the process.
Managing Domains
You can easily manage domains in ZesleCP:
- Log in to the ZesleCP dashboard.
- Click on “Domains.”
- Add, remove, or configure domains as needed.
FAQs
Q1: Is ZesleCP completely free?
- Yes, ZesleCP offers a free version with many features. They also have a paid Pro version with additional functionality.
Q2: Can I install ZesleCP on any Linux distribution?
- ZesleCP is officially supported on CentOS 7/8 and Ubuntu 20.04. While it may work on other distributions, it’s recommended to use a supported OS for the best experience.
Q3: How do I access the ZesleCP dashboard after installation?
- You can access the dashboard by entering your server’s IP address in a web browser.
Q4: What if I encounter issues during installation?
- Check the official ZesleCP documentation and community forums for troubleshooting tips. You can also contact their support for assistance.
Optimizing for SEO:
- Use the focus keyword “install ZesleCP free Linux hosting” throughout the tutorial.
- Include relevant keywords in your headings and content.
- Use concise and informative headings.
- Keep the content clear, structured, and easy to read.
- Add alt text to images for accessibility and SEO.
- Use outbound and internal links to relevant sources.
- Ensure the page is mobile-friendly and loads quickly.
- Encourage user engagement by inviting comments and questions.
By following this tutorial, you’ll be able to set up a free Linux hosting environment with ZesleCP quickly and efficiently. If you encounter any issues, consult the official ZesleCP documentation or reach out to their support team for assistance.


